2026-01-16 09:07:49
Inspecting busbar dimensions is a critical quality control process in electrical systems. Accurate dimensional inspection ensures that the busbar meets design specifications, carries the required current safely, and fits correctly into switchgear, consumer units, battery systems, and power distribution equipment.
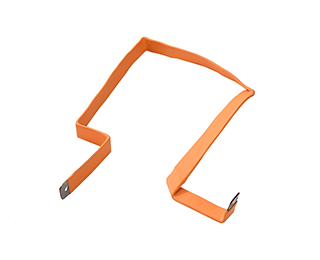
This guide explains how to inspect busbar dimensions step by step, covering key measurement points, tools, inspection procedures, and best practices for Copper Busbars, laminated busbars, and Flexible Busbars.

Proper inspection of busbar dimensions helps to:
Ensure correct current carrying capacity
Maintain low electrical resistance
Guarantee proper busbar connections
Prevent overheating and mechanical stress
Meet IEC, UL, and customer drawing requirements
Incorrect busbar dimensions can lead to installation issues, increased contact resistance, and long-term reliability problems.
When performing busbar dimension inspection, the following parameters should always be verified:
Thickness directly affects current capacity and thermal performance. Even small deviations can significantly impact electrical performance.
Busbar width determines the effective cross-sectional area and influences heat dissipation and mechanical strength.
Overall length must match the installation space and connection layout to avoid stress during assembly.
Accurate hole dimensions are essential for secure electrical busbar connections. Misaligned holes can cause poor contact or assembly failure.
Warped or twisted busbars can increase contact resistance and create hot spots.
Selecting the right measuring tools is essential for accurate inspection:
Digital calipers for thickness, width, and hole diameter
Micrometers for high-precision thickness measurement
Steel rulers or tape measures for length
Height gauges and surface plates for hole position verification
CMM (Coordinate Measuring Machine) for complex or custom busbars
These tools are commonly used when inspecting Copper Busbars, laminated busbars, and Flexible Busbar terminals.
Confirm the required dimensions, tolerances, and material specifications before inspection.
Clean the surface to remove oil, dust, or burrs that may affect measurement accuracy.
Inspect thickness, width, length, and hole dimensions according to the drawing requirements.
Place the busbar on a flat reference surface to detect bending or warping.
Document all measurements and compare them with specified tolerances.
Focus on thickness consistency
Check for surface oxidation affecting measurement accuracy
Measure total thickness and individual layer alignment
Verify insulation layer thickness
Inspect terminal dimensions and braid width
Ensure crimped areas meet specification
Thickness deviation reducing current capacity
Incorrect hole spacing preventing installation
Excessive warping causing poor electrical contact
Plating thickness not considered in final dimensions
Identifying these issues early reduces rework and installation delays.
Use calibrated measuring tools
Measure at multiple points along the busbar
Follow standardized inspection procedures
Retain inspection records for traceability
Combine dimensional inspection with visual and electrical checks
Understanding how to inspect busbar dimensions is essential for ensuring electrical safety, performance, and long-term reliability. By accurately measuring thickness, width, length, and hole positions, manufacturers and installers can guarantee that busbars meet both electrical and mechanical requirements in modern power systems.